


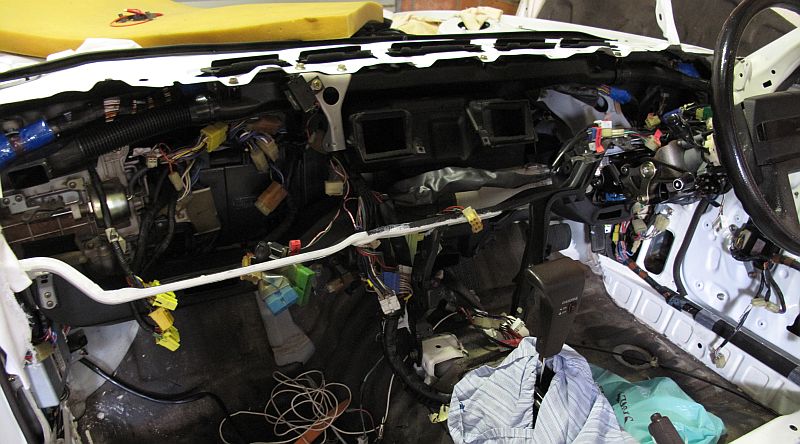
All the wiring under the dash done.

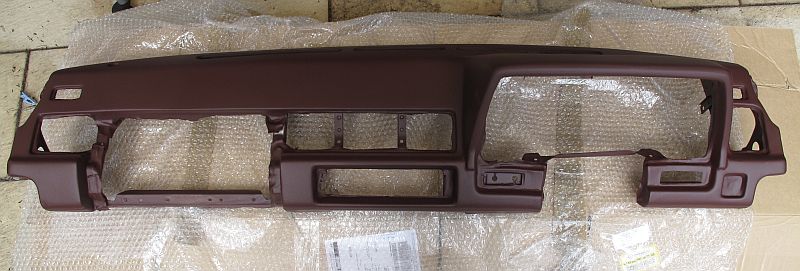
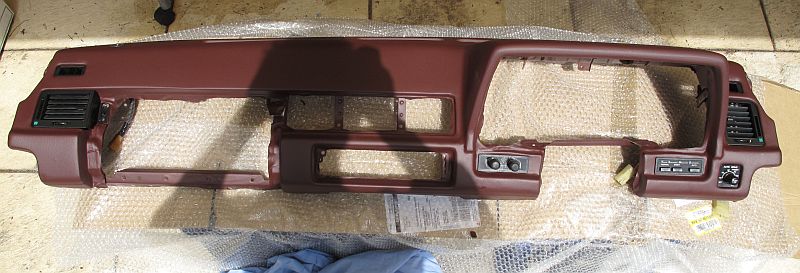
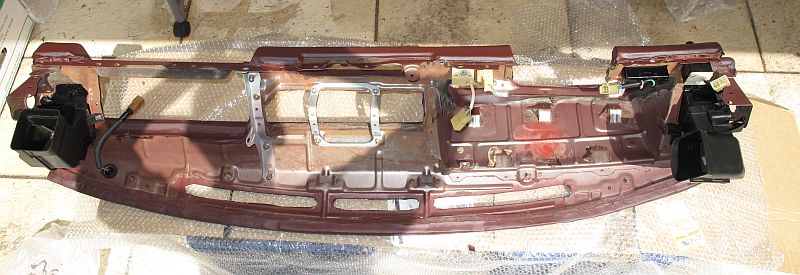
The repaired crash pad.
Everything cleaned and installed on the crashpad
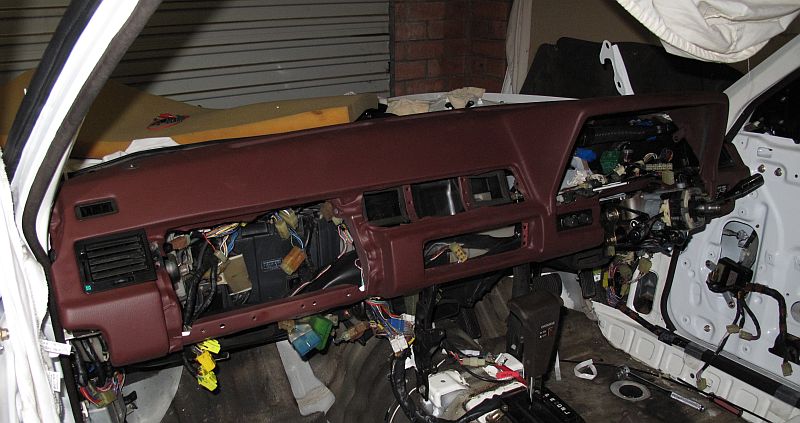
Everything installed.

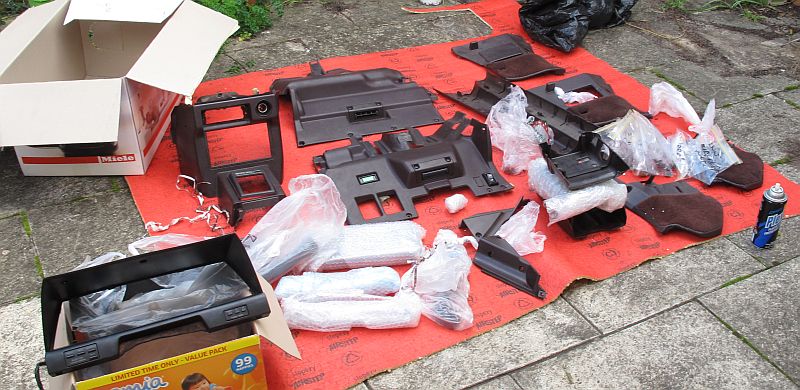
For future reference. All th nuts and bolts that remain to be installed to hold it all in place.

Info:
http://books.google.com.au/books?id=53nnX4fnnNIC&pg=PA220&lpg=PA220&dq=b-y%2C+r-y%2C+g-y+chroma&source=bl&ots=1udP3jnpaL&sig=rntO3MGxEeoK2435_mruSWo6zhs&hl=en&sa=X&ei=qFxzU_LKLIyPlQWxt4DwCw&ved=0CCgQ6AEwAA#v=onepage&q=b-y%2C%20r-y%2C%20g-y%20chroma&f=false
There seems to be 2 circuit paths:
One that takes R-Y, B-Y, G-Y and Y and then matrices the Y into the R-Y, B-Y, G-Y. This is done apparently so that the amount of Y added can be adjusted per colour. The output of this circuit goes into the R, G, B pins on the electrode gun. There are two more pins for earth and a heater?
The other takes the Sync and Power. There appear to be 3 syncs. SY, DH, DV. These are used to control the CRT deflectors.
So...
Feeding RGB + Ground from the CRT circuit and SY from the Input into the RGBS input of the converter produced no result. But I could have ruined up the CRT circuit when I was removing it.
EMV Computers: http://mz12gt.com/?p=293
Plan:
EMV Signal -> Converter Box -> ALR-1400 Controller -> 5.7" TFT
Parts:
Signal Interpreter: www.arcadespareparts.com/arcade_parts/video_converter/rgb_jamma_vga_converter_board/13052.html
ALR-1400 LCD Controller: http://www.digitalview.com/products/alr-1400-tech-specs
LCD Display: http://www.sharp.net.au/cms/articles/439/files/LQ057V3DG02%20LED%20BL%20%28TL%29.PDF

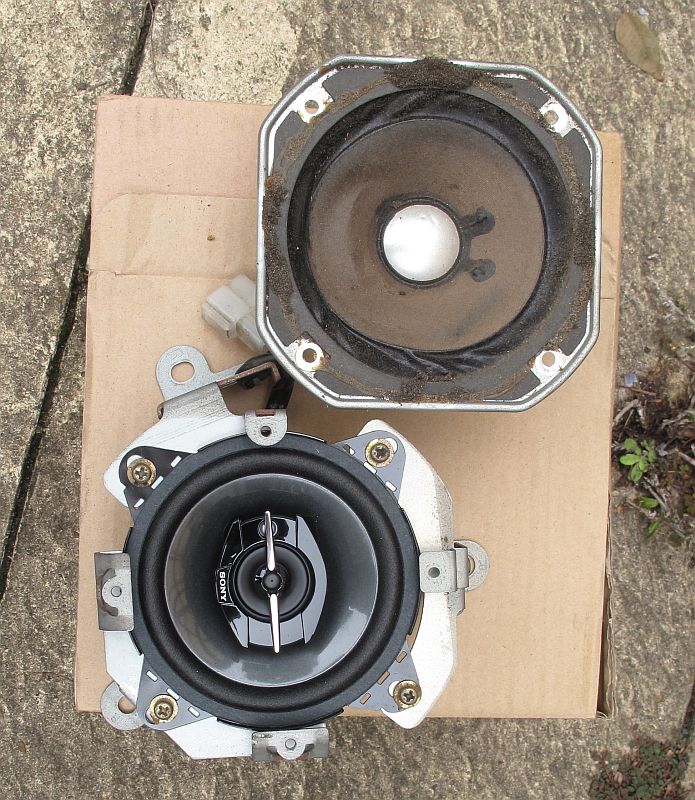
Wanted to keep the old technics speakers, but they were too far gone. Replaced with Sonys.
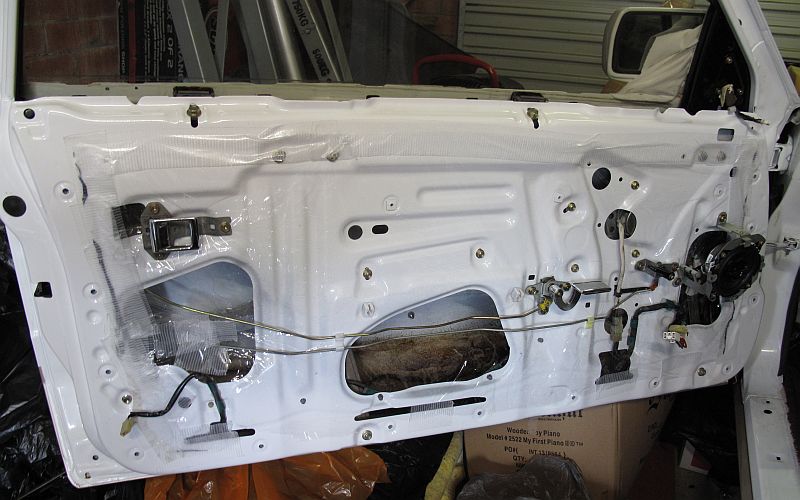
Passenger side door prepared, with handles and lock connections installed.
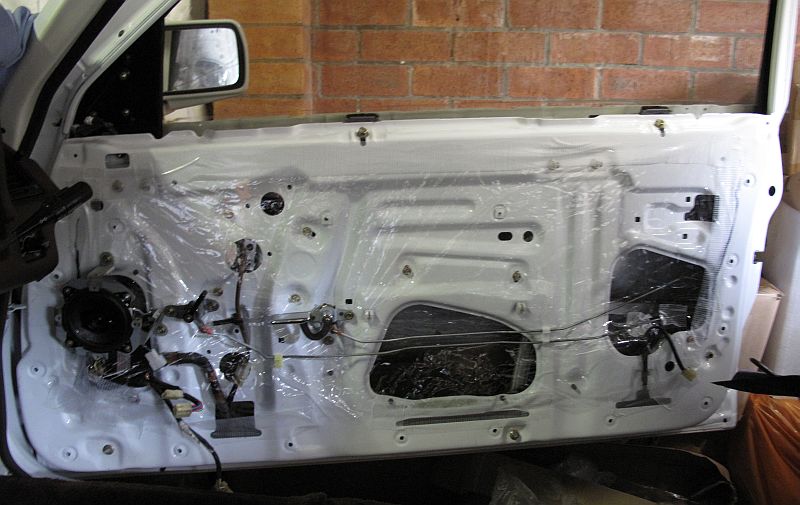
Driver side door prepared, with handles and lock connections installed.

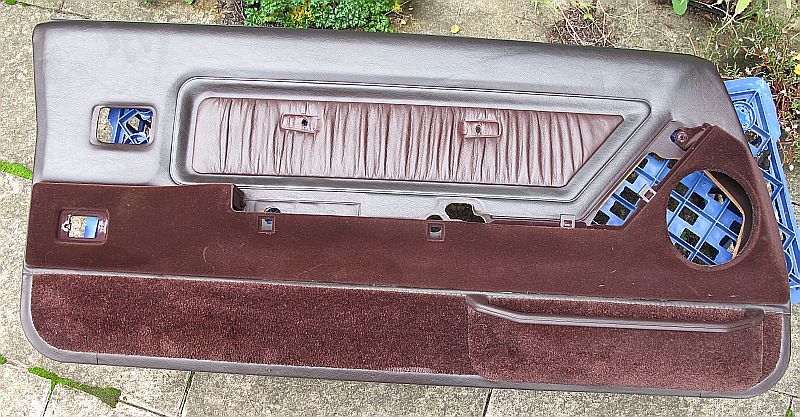
Door-card cleaned with Connoly Hide care. Ready to be installed.

More Oscilloscope work.
The whole screen represents 20ms, divisions are 2ms Voltage divisions are 2V.

Oscilloscope output of the sync signal
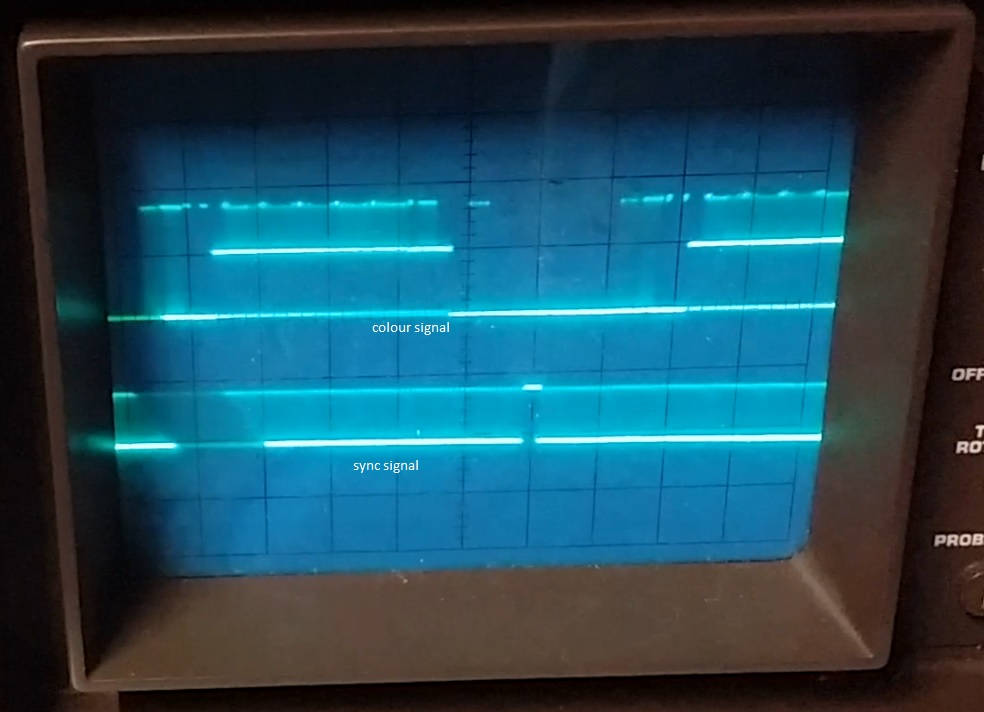
Oscilloscope output of the sync and colour signal
Links to videos.


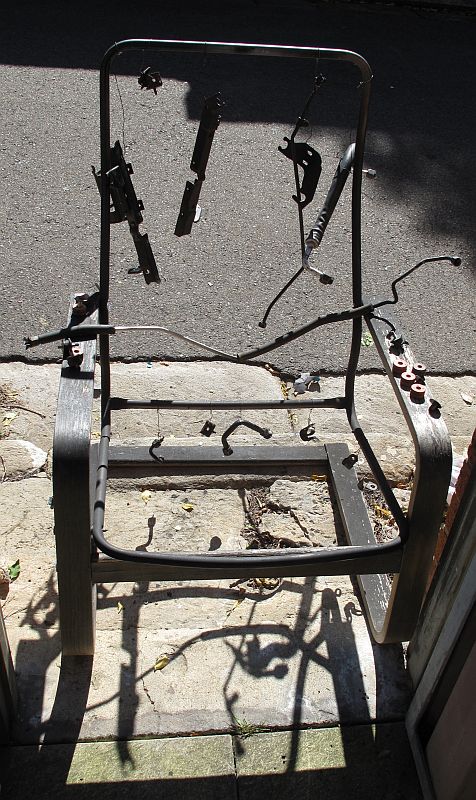
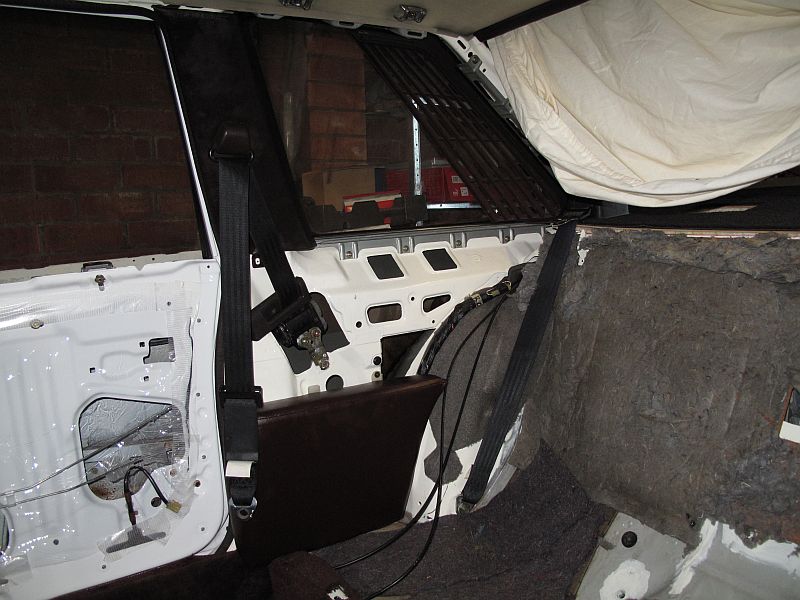
Had to scrap the MZ11. But took time to remove everything from it before letting it go.
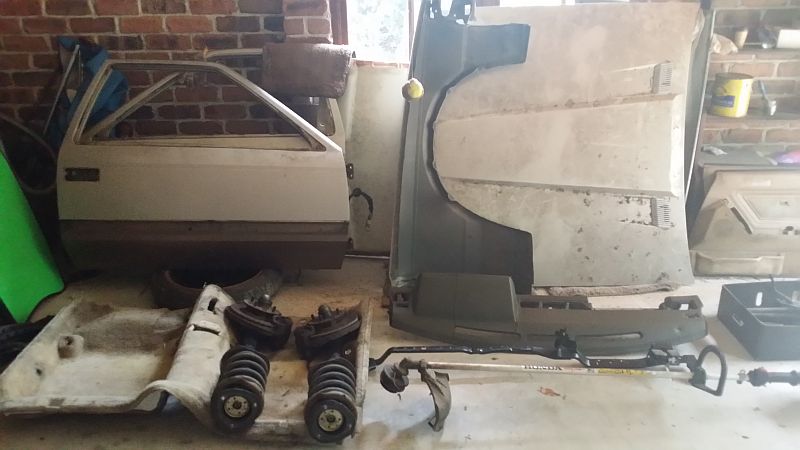
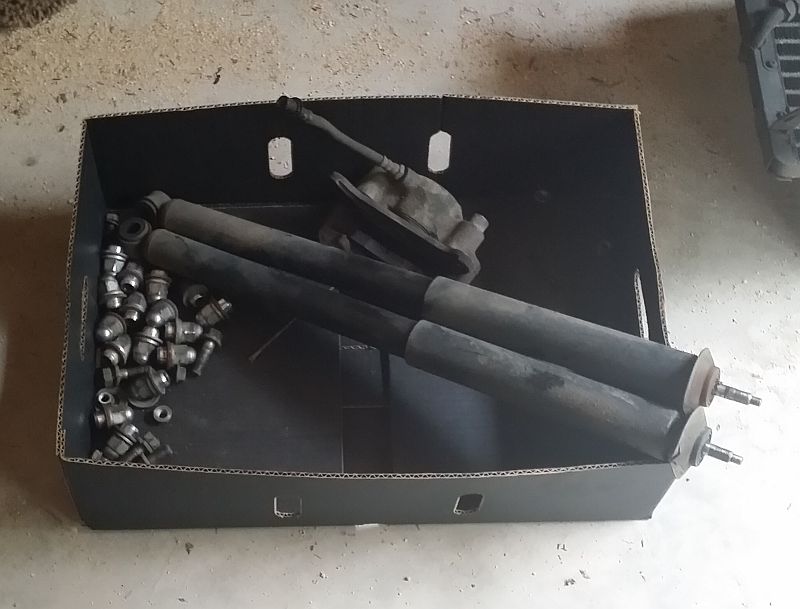
Rear TEMS
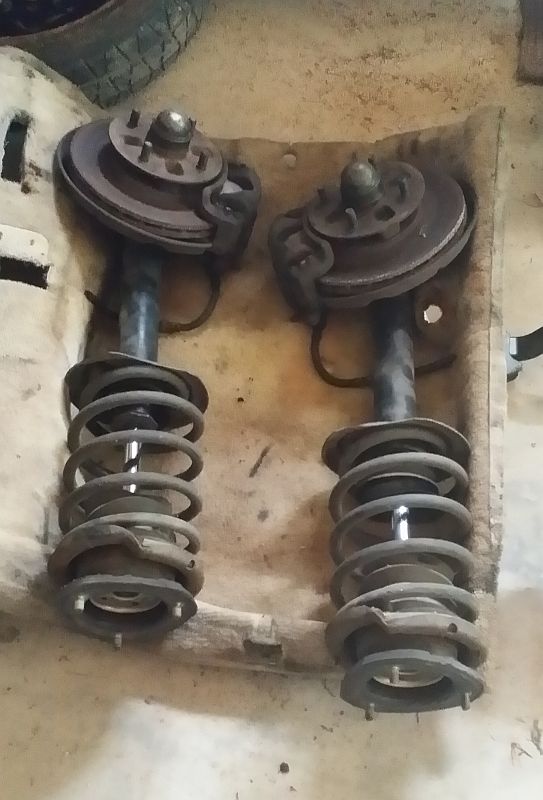
Front TEMS

Materials:
- 140cm x 50cm 3mm MDF
- 140cm x 50cm Padding
- 140cm x 50cm Carpet
Equipment
- Stanley knife
- Metal ruler
- 25mm hole punch
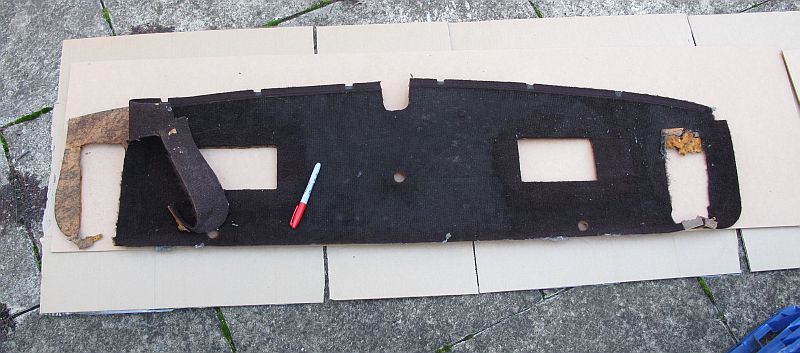
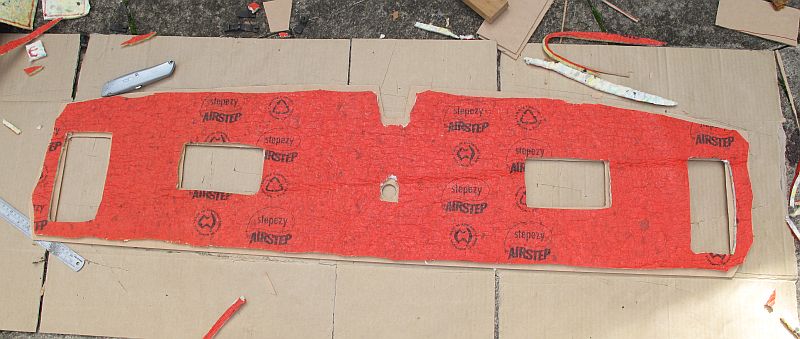
Drawing up the template.
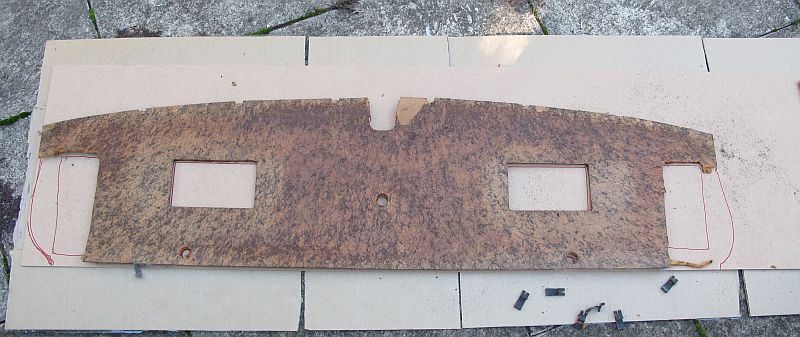

Cutting out the new board.
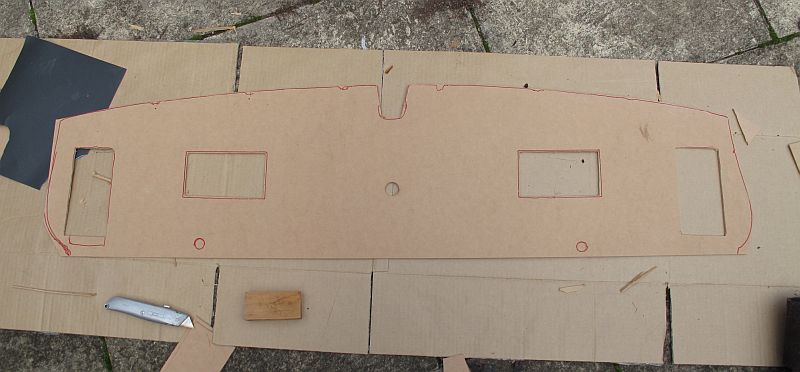
Shelf board finished
Padding adhered.
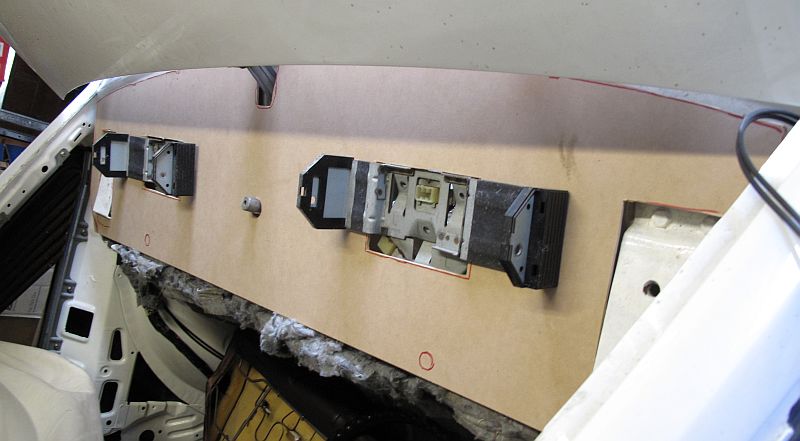
Test fitment.
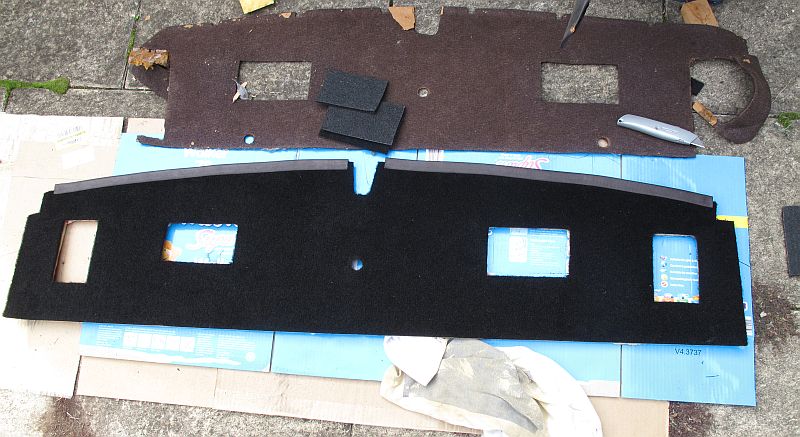
Carpet added
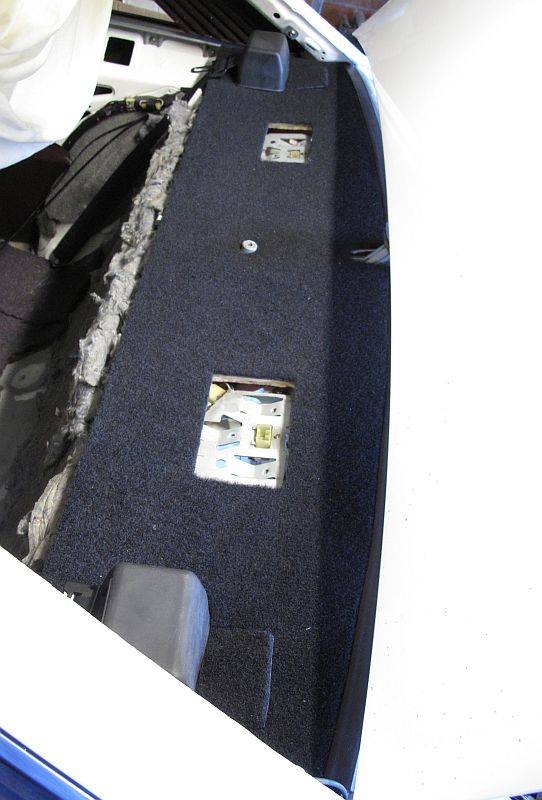
Final fitting.

Removing condenser bracketry
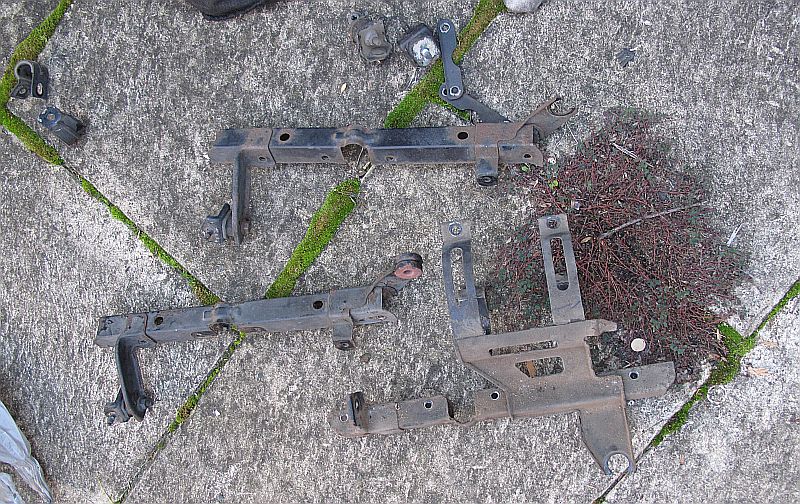
Condenser bracketry
Prepping for spray painting.
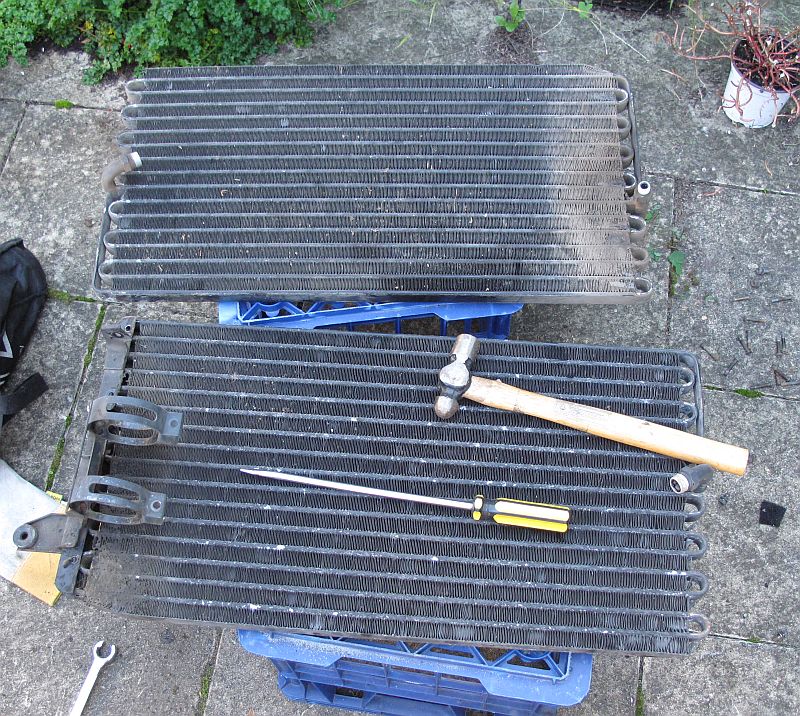
New and old condensers.
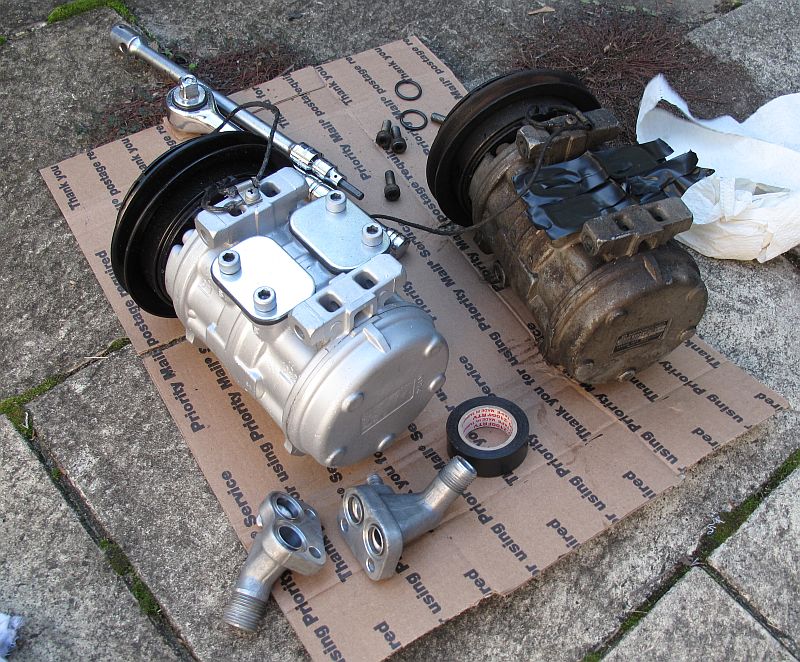
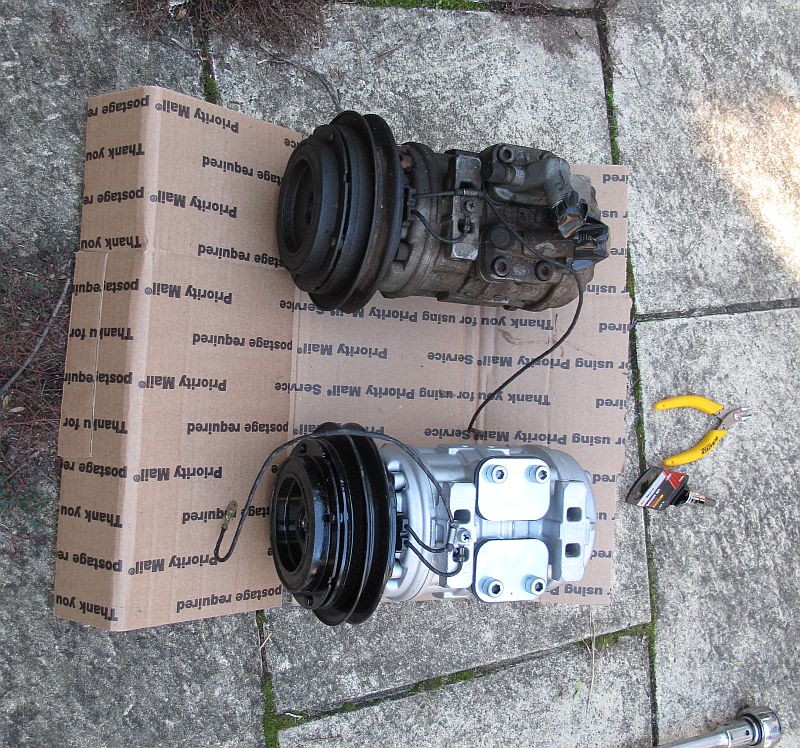
Moving across the service valves to the new compressor.
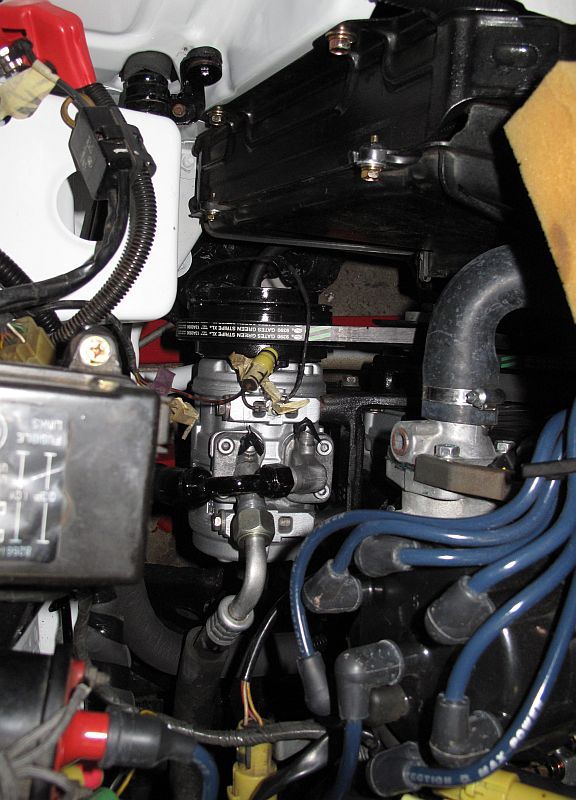
New compressor installed.

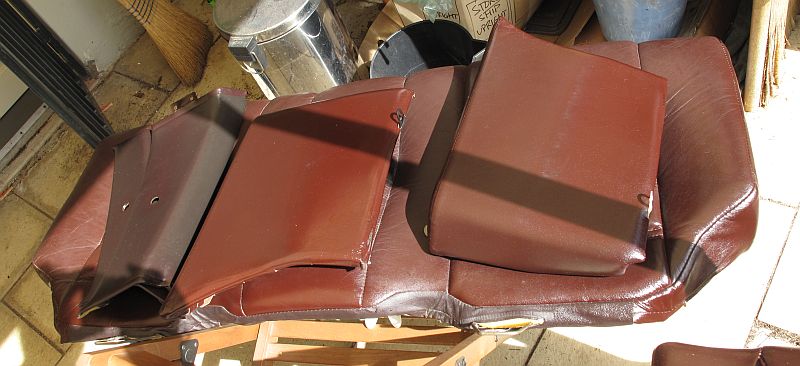
All the back seat parts disassembled for cleaning
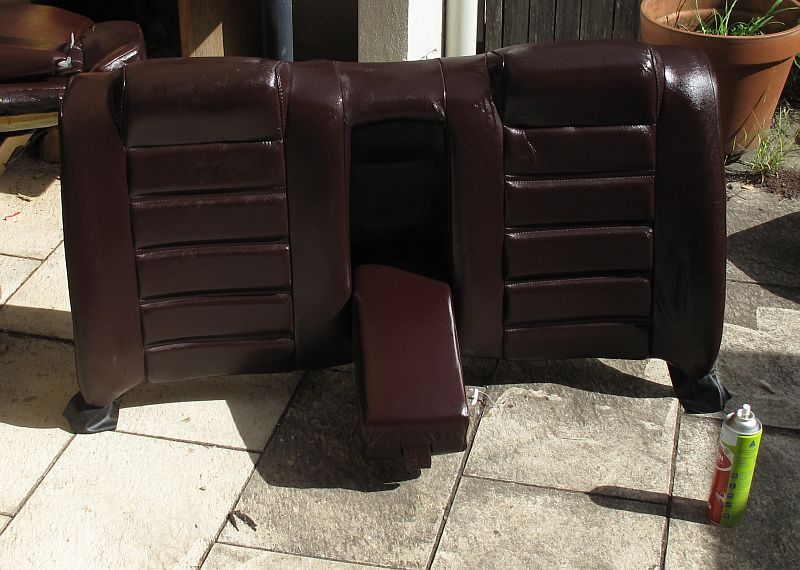
The back seat restored with stacks of Lanolin grease and Connolly Hide Care.
Begin installing everything

Back in place.

Seems like the csync emitted by the EMV computer is either too noisey or not amplified enough for the upscaler board to get a lock on the signal.
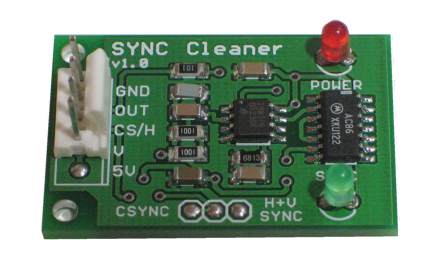
To rectify this I have ordered:
- LM1881 eg. http://www.mmmonkey.co.uk/composite-sync-stripper-lm1881/
- EL4853 eg. http://shmups.system11.org/viewtopic.php?f=6&t=43992

- JROK Sync Cleaner
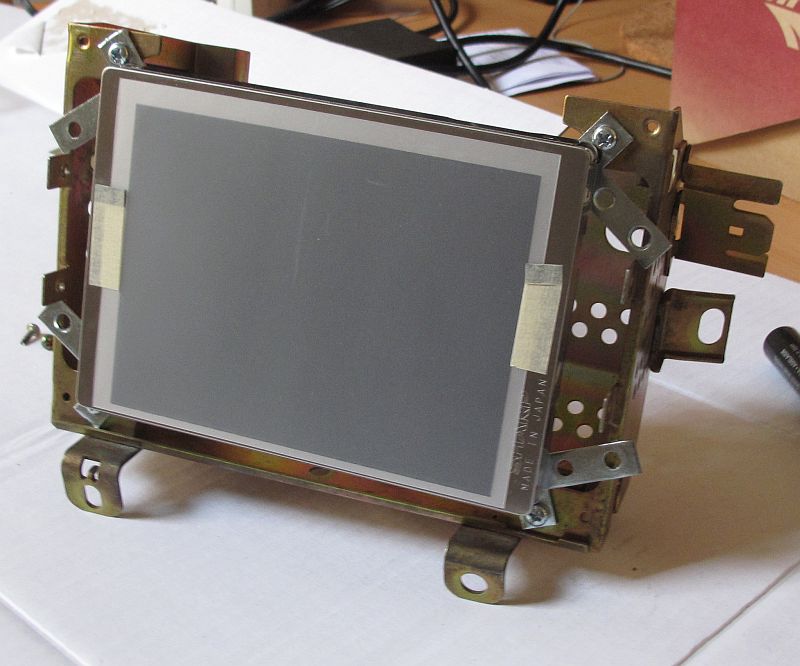
Also here is a test fit of the LCD I am using on the CRT mounting bracket.

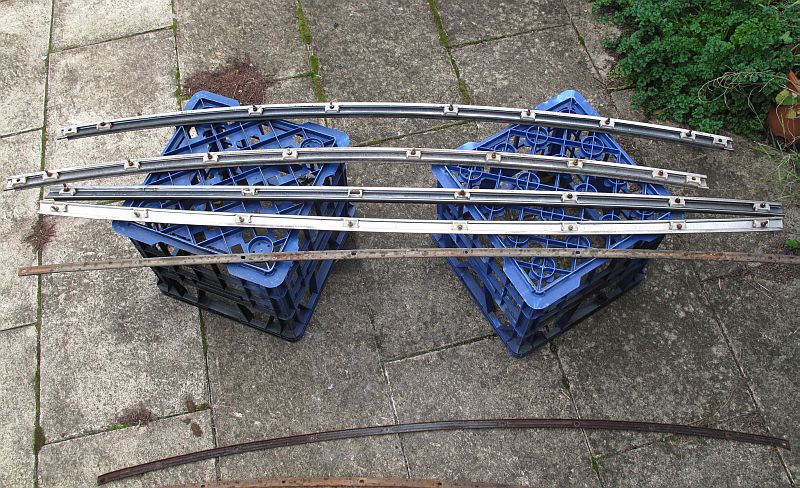
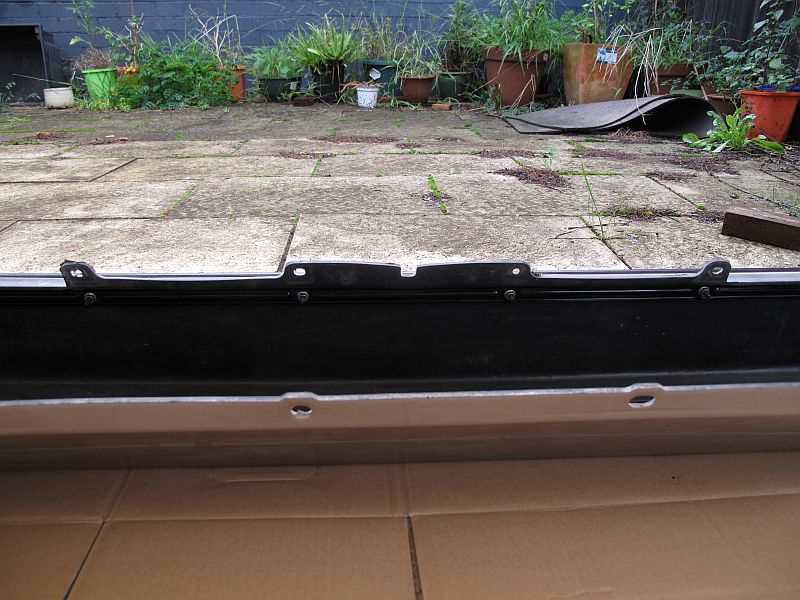
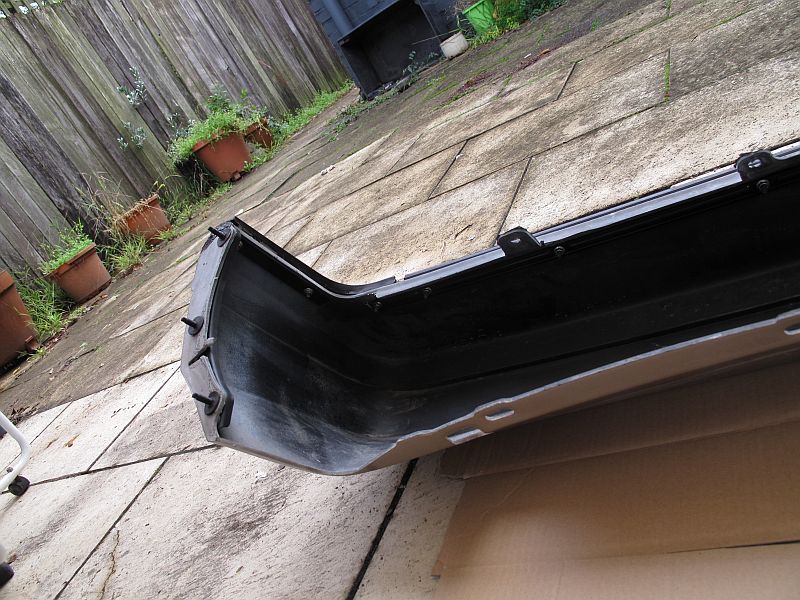
Starting state. Everything pretty rusty.
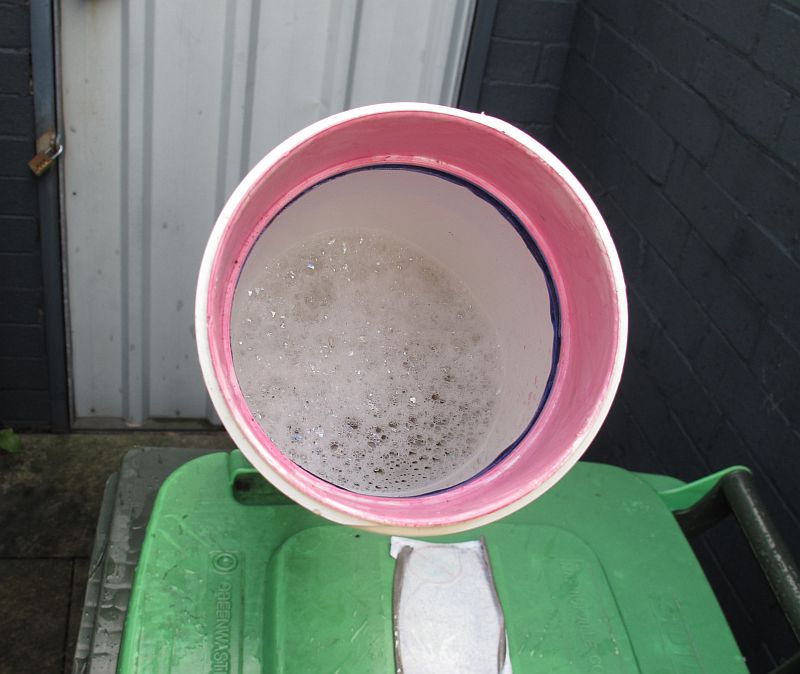
Phosphoric acid tube
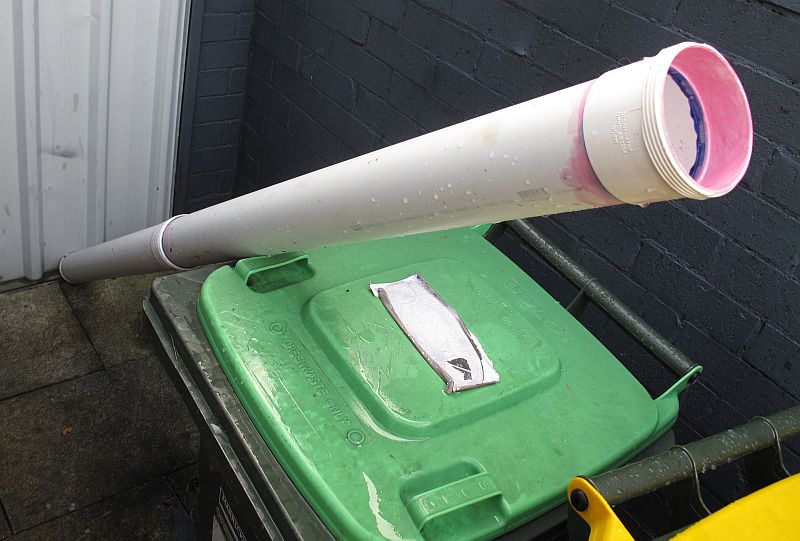
Phosphoric acid tube
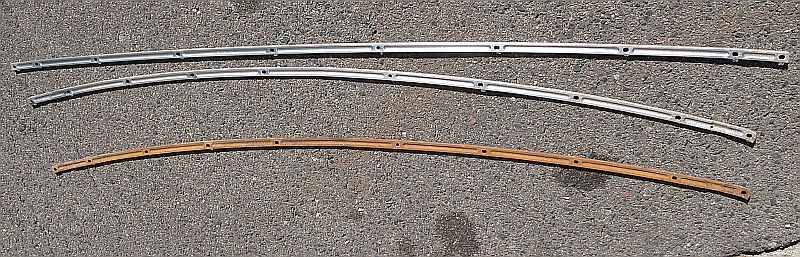
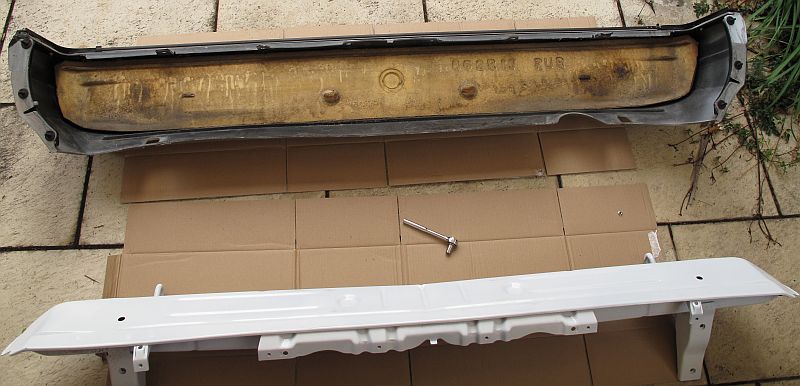
One week later, nice and clean. With old rust part for comparison.

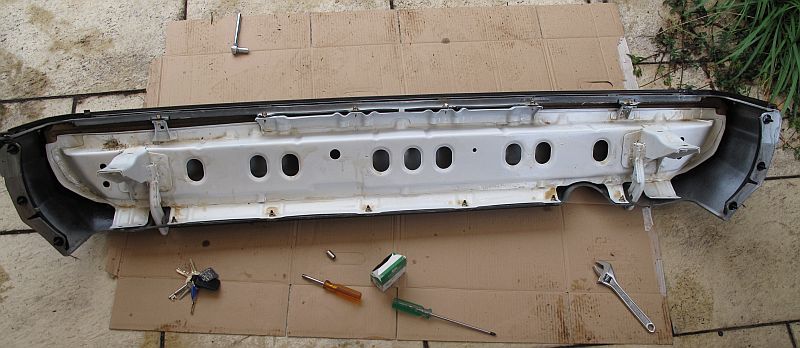
After painting everything gets put back together
New hardware
Almost done,
Finished product!

List of remaining things required before the car can be registered:
Necessary
- Reinstall cat converter. ☑
- Rebuild the dash. ☑
- Check brake lines and bleed. ☐
- Fix petrol tank lid. ☑
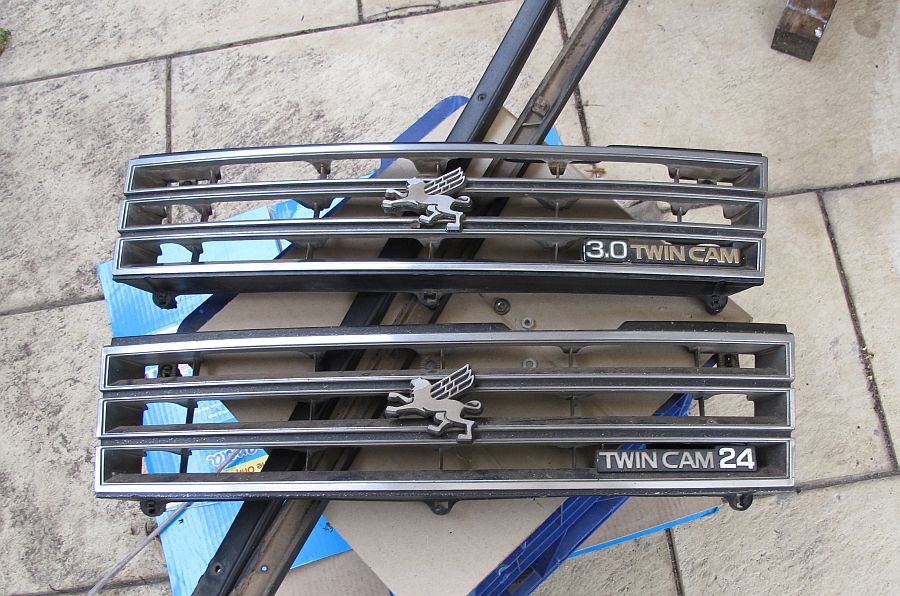
- Fix and install grille. ☐
- Attach front bumper. ☐
- Install front bumber indicators. ☐
- Get Front and Rear windscreens supplied and installed - need to find a reliable glazier who can supply and install NAGS code TT1506 PGI code TT9000. Size 1510 x 723. ☐
- Fix relay or fuse for parking headlights. ☑
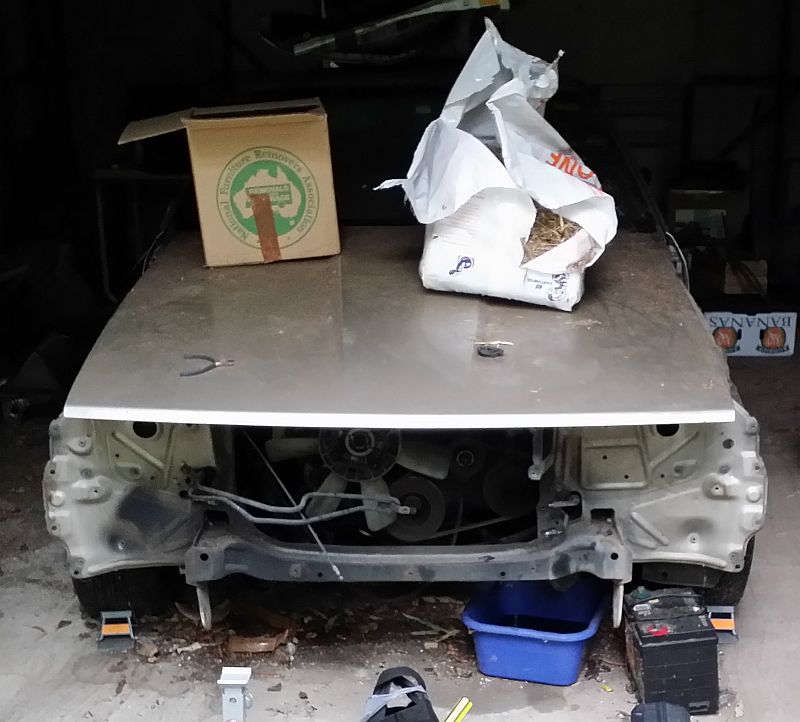
- Install bonnet. ☐
- Retorque head bolts to 74 Ft/lb. ☑
- Install washer bottles. ☐
- Acquire and install boot rubber. ☑
- Complete filling the car with fluids. ☑
- Finish rebuilding interior trim. ☐
- Source new tyres. ☑
- Start car. ☐
Optional
- Acquire and fit a new stereo. ☐
- Rebuild passenger side door. ☑
- Install mud guards and under body plastic protection. ☐
- Fog lights. ☐